It pays to look after your vehicle
In the first instalment of our new blog series we tackle 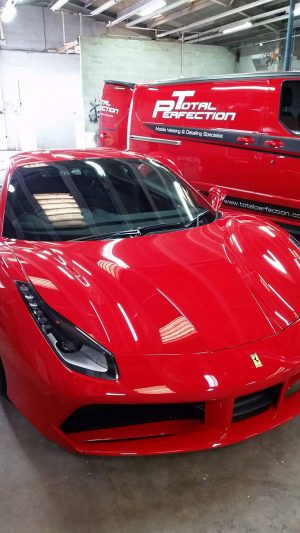 one of the most important things for any hearse or limousine owner- maintenance. Specifically; paint maintenance. It pays to look after your vehicle, for both everyday funerals and for resale, and whether it’s a Mercedes, Vauxhall or a Ford, a well-kept hearse shows a professional front for your business.
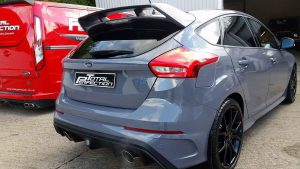
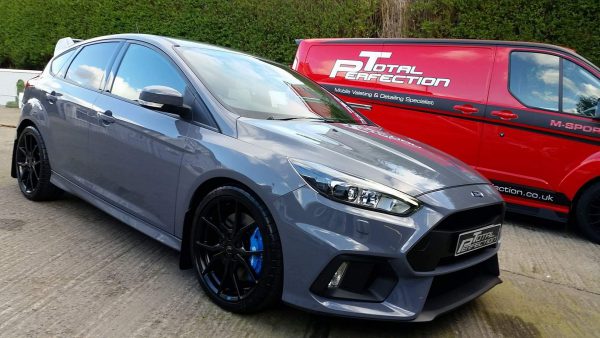
That’s why Fearghas Quinn Hearse and Limousine have invited Mark Smiley, of Total Perfection Valeting and Detailing specialists, to write this guide. Mark is a world-renowned expert in the detailing field with certification from Rupes and vast experience with TV supercars, professional fleets and funeral vehicles to name but a few. And we can think of no-one better to advise the industry on maintaining our hearses and limousines. Over to you Total Perfection…..
How to Maintain Car Bodywork by Total Perfection Detailing Specialists
To maintain the bodywork of your car, you must perform a multitude of routine tasks, such as washing and waxing your car to prevent rusting and repairing marks and scratches that mar your car’s surface. Depending on where you live, certain elements, such as salt from the ocean or salt on the road for melting snow, can cause the body of your car to rust at a faster rate. By performing tasks such as these, you can continue to keep the bodywork of your car in optimal condition for years to come
The Following steps from Total Perfection will help:
Step 1 –
Wash your car on a regular basis at least twice per month. Washing your car will remove salt, dirt, and other debris from the surface of your car; all of which can cause permanent stains, rusting, and corrosion if not removed.
• Wash the areas underneath your car to remove excess dirt and salt; especially during cold months when salt has been placed on roads to melt snow. If salt is left on your car, it will cause those sections to corrode.
• To wash the sections underneath your car, use a pressure-washing hose at a coin-operated car wash, or drive through an automatic car wash that will shoot jets of water under your car.
• Wash or spray the insides of your car’s wheel arches and underneath the bumper area to remove any dirt or salt hidden from view.
Step 2 –
Use water to remove bird droppings from the surface of your car. Bird droppings contain abrasive and acidic properties that may permanently stain your car if they are not removed immediately.
Step 3 –
Wax your car once every 3 or 4 months. Waxing will help protect the paint on your car and prevent corrosion by blocking water that may seep into scratches and chips on your car’s surface.
• Purchase a non-abrasive car wax from an automotive store and apply it to your car’s surface using a large soft sponge or a soft cloth.
• Apply the wax only to the painted sections of your car. If you apply wax to the rubber or plastic parts of your car, it may cause those parts to stain permanently.
• If you accidentally apply wax to the rubber or plastic parts of your car, remove it immediately using a commercial glass cleaning product.
• Buff the car with a clean, soft cloth until all the wax has been removed from the surface of your car.
Step 4 –
Apply a rustproofing agent to your car. Rustproofing your car is ideal if you live in a humid climate or if your car comes into contact with salt in the air or on the roads. A rustproofing product will add extra protection to the bodywork of your car and help prevent corrosion.
• Purchase a commercial rustproofing agent from any automotive repair store and apply it to your car following the directions provided by the product’s manufacturer.
Step 5 –
Apply paint to small chips and deep scratches on your car. This will prevent the affected areas of your bodywork from corroding.
• Obtain touch-up paint from your car’s manufacturer or dealer in the exact color of your car. If you are unsure of your car’s color, ask your dealer to tell you where to locate the color code on your car.
• Squeeze a small amount of paint into the cap of the tube, then dip the point of a wooden toothpick into the paint.
• Use the toothpick to slowly apply the paint to the chipped or scratched area of your car.
• Refer to the directions of your touch-up paint to determine how long the paint needs to dry before you apply the clear coating. The clear coat is usually located at the other end of the touch-up paint tube.

Step 6 –
Polish areas of your car that contain minor, shallow scratches. This procedure will cover and hide any small scratches on your car’s surface.
• Purchase a commercial car polishing product from an automotive retail store.
• Apply a small amount of polish to the applicator included with the product and gently rub the affected area. You may want to test a small area first, just to familiarize yourself with the abrasiveness of the polish.
• Check the scratched area to see if the scratch is still visible. If so, continue to gently polish until the scratch is no longer clearly visible.
• Wash the affected areas with soap and water to remove the polish after the scratches have been repaired.
• Apply car wax to the areas you have treated with polish to buff and shine the surface areas.
Step 7 –
Finished
Thank you for reading this article by Total Perfection detailing specialists.
You can visit our website www.totalperfection.co.uk for more information and advice
Mark Smiley